


ConnectNetwork.com Account Creation and Management Instructions
Family and friends of inmates can use the ConnectNetwork.com website to manage their account with GTL. Friends and family can create and fund an AdvancePay prepaid telephone account, and create, send and receive e-messages (very similar to email) with inmates from the ConnectNetwork.com website.
The instructions below will walk through creating an account, using an account, and sending e-messages.
How to use ConnectNetwork.com
| Description | Click to enlarge |
| 1. To create your account, type www.connectnetwork.com in the address bar of your web browser, or click here | |
| 2. Once on that page, select the option to sign up for a new account (existing users may simply login using their username and password – skip ahead to “Using ConnectNetwork.com” step 1. | 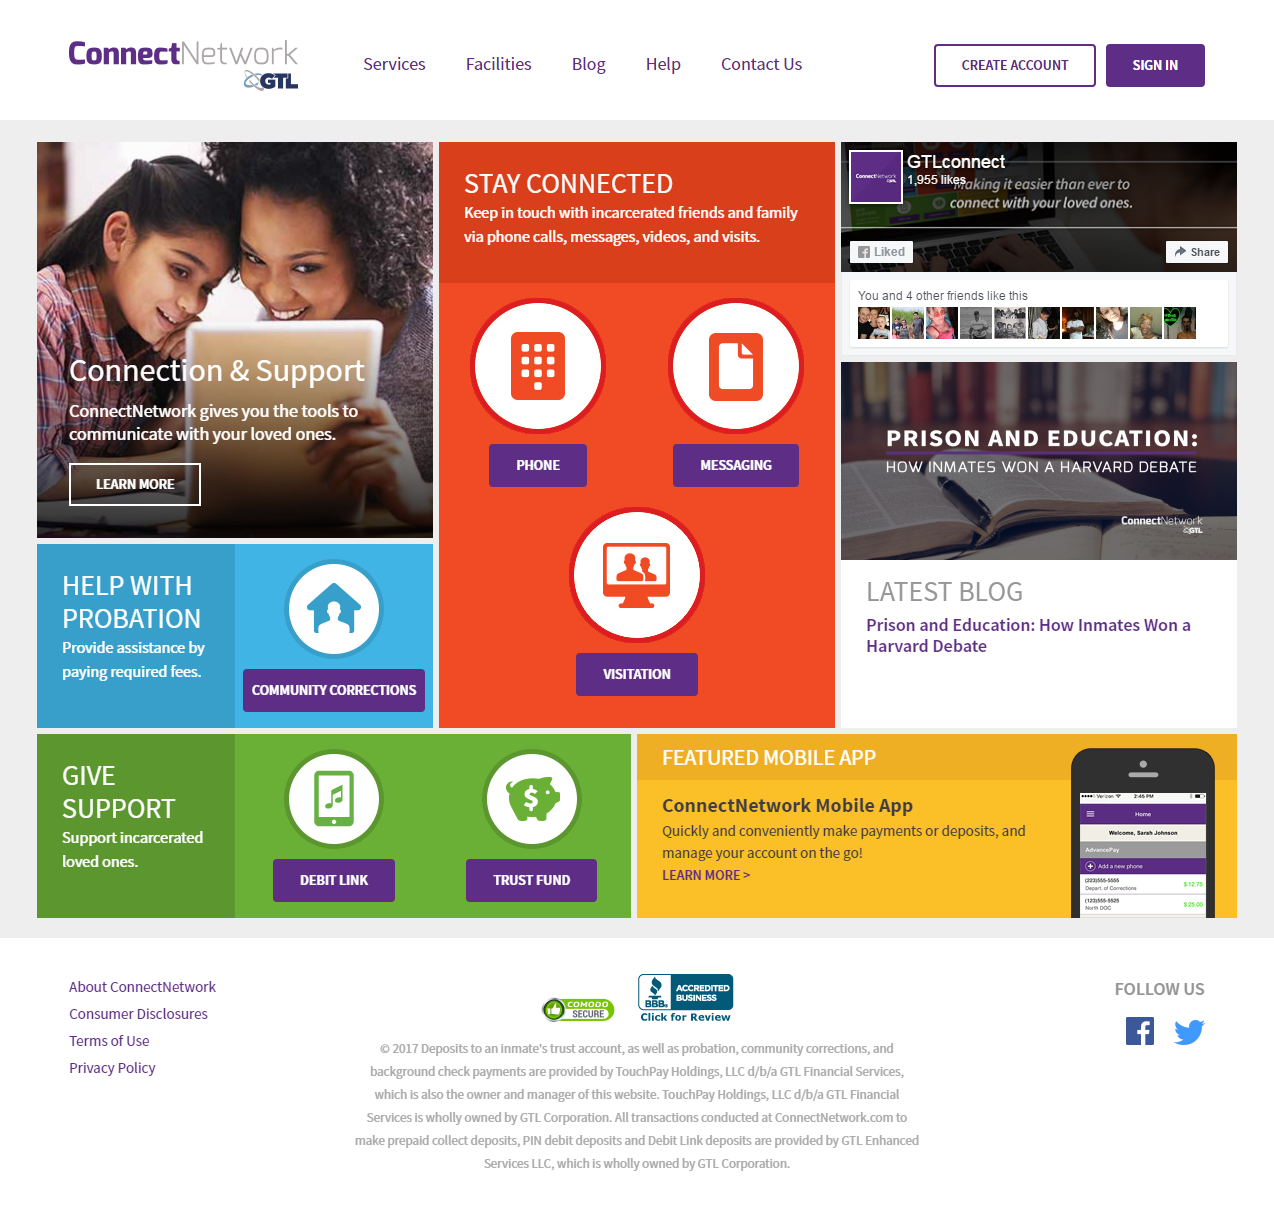 |
| 3. Once you click the “Create Account” button, you will be taken to the Account Creation page where you will build your unique ConnectNetwork user profile. All information must be accurately completed, including the acceptance of the Terms of Use before your account can be successfully created. If you encounter a warning about secure items, select “Yes” to ensure that only secure, encrypted items are shown. | 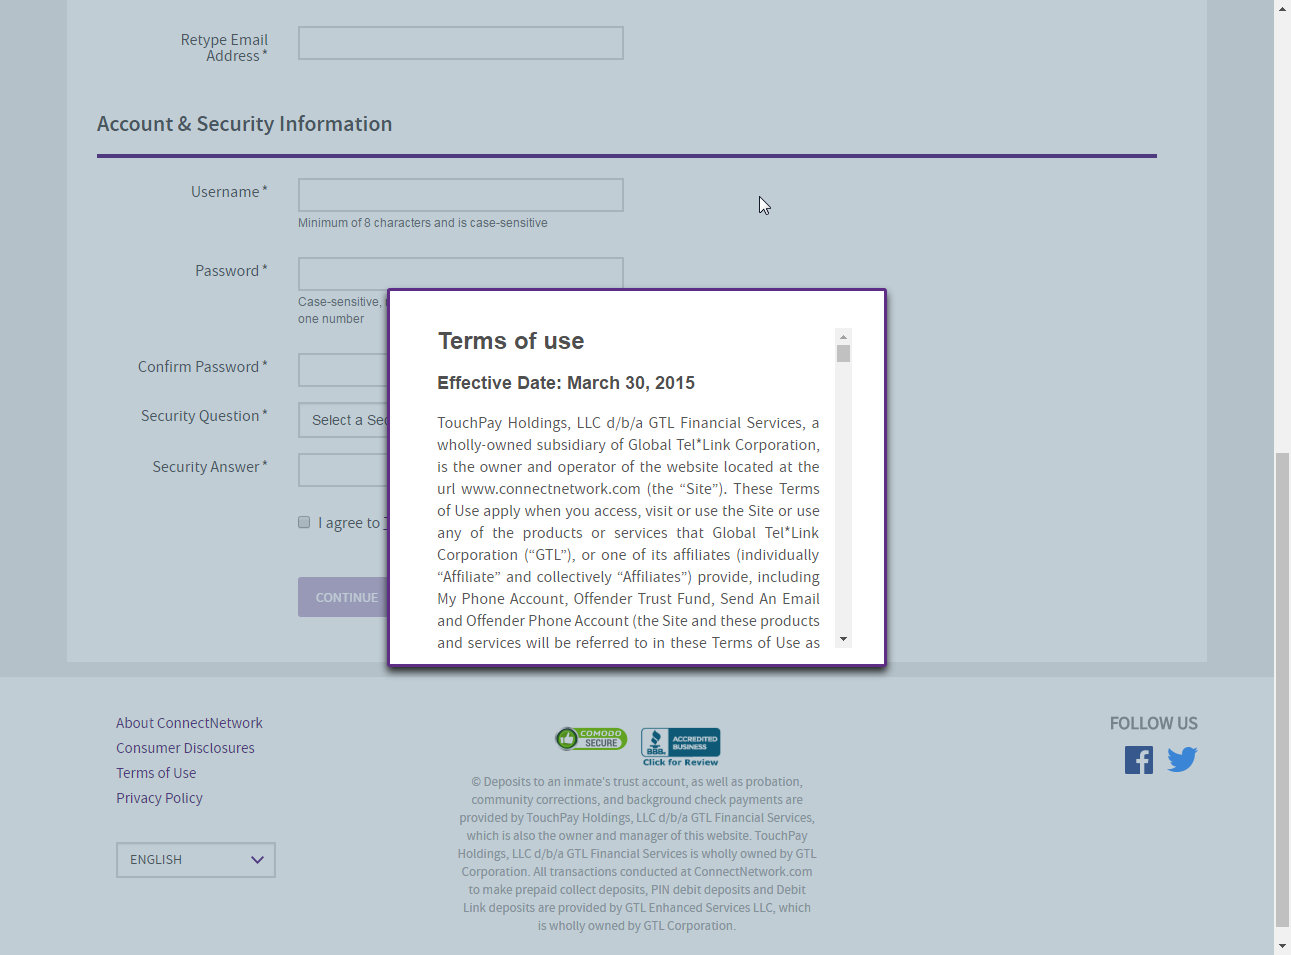 |
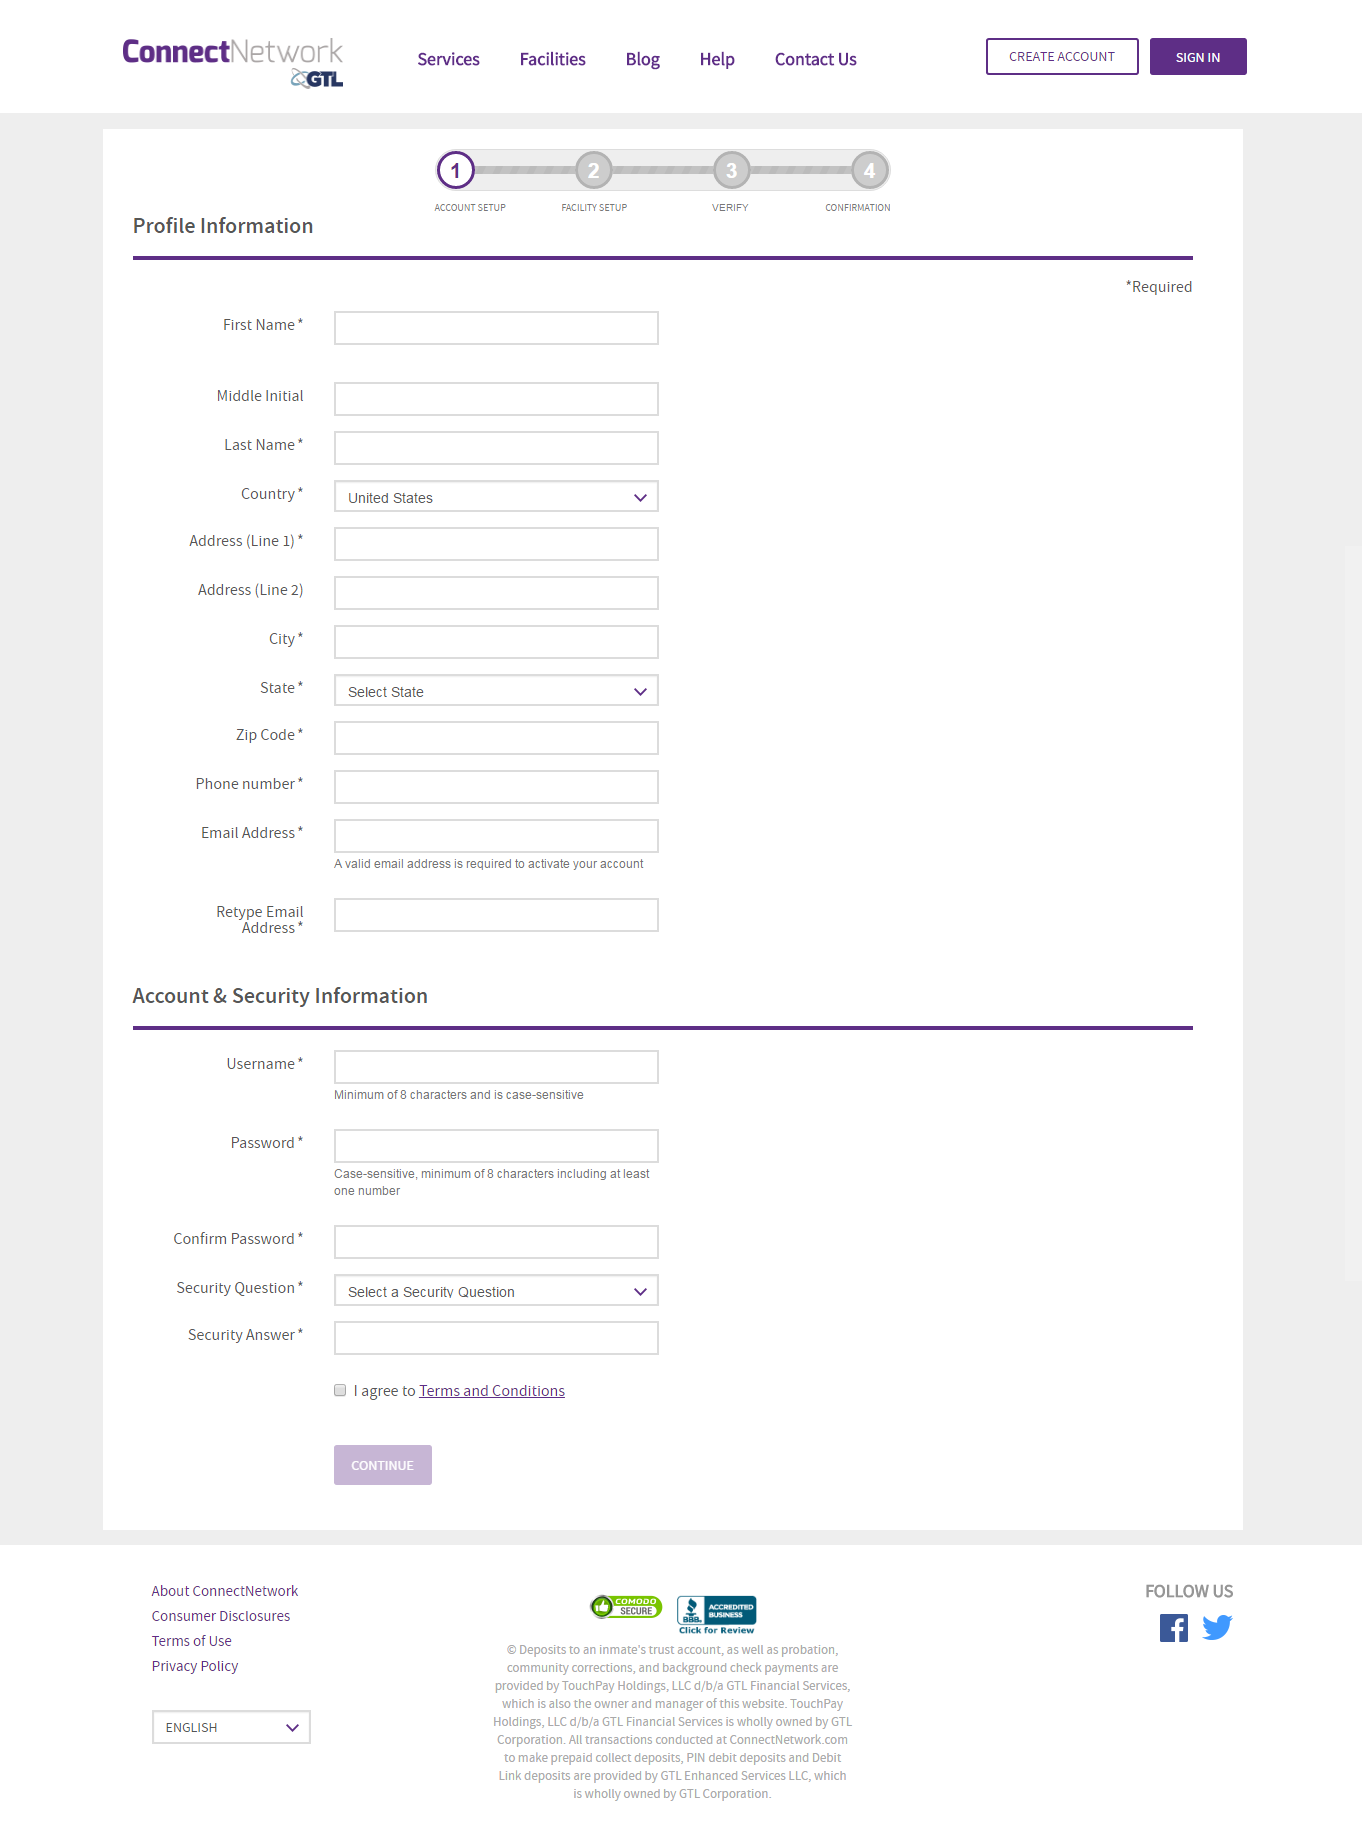
| 4. On the Profile Information/Account & Security Information page, enter your information – it is very important that your first and last name match what is on your government issued ID (drivers license, etc.) as it may need to match official visitation information for security purposes. For example, if the name on your drivers license is “Patricia”, but you go by the nickname “Pat”, please use “Patricia” in the first name field. Be sure to remember your User ID and password, as this information is not included in any of your confirmation materials and you will need it to log into the system every time you use it.
It is very important to use a valid email address, as you will receive a confirmation email at that address upon the completion of account creation. You will not be able to use the account without a valid email address that you own. If you do not have an email account, here are several providers of free email accounts: |
|
| 5. On the Facility Selection page, a two step process is required to locate your desired facility. The first step is to select the correct state the facility is located in. Once the state is selected, the second selection list will contain a list of all facilities serviced by ConnectNetwork. Please select the desired facility from this list. Once you have verified that you have selected the correct facility, you may select the ‘Continue’ button to proceed. | 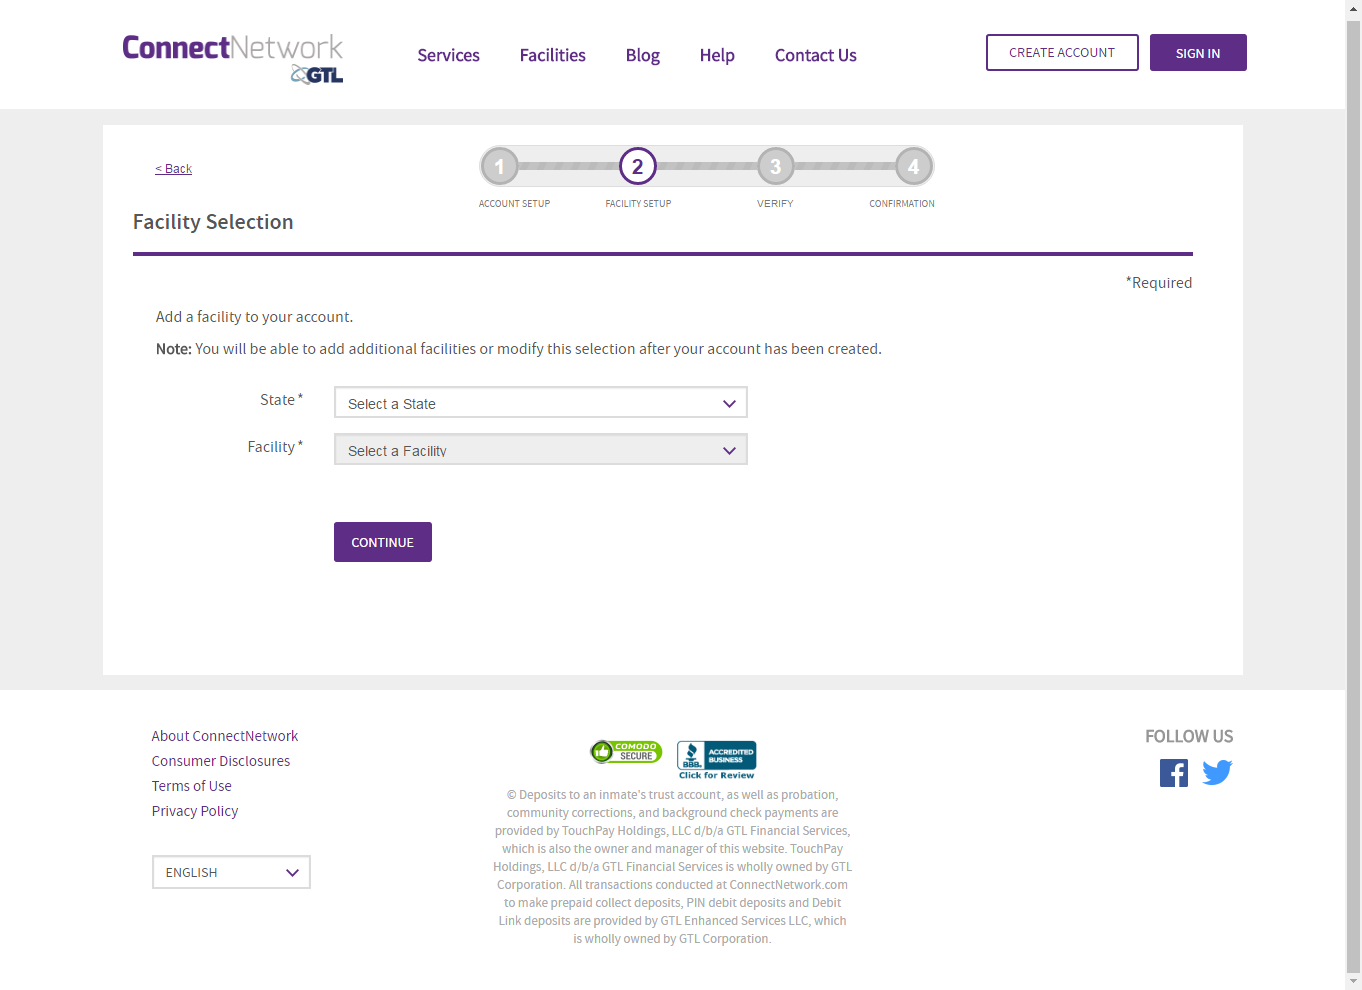 |
| 6. It is very important that your first and last name match what is on your government issued ID (drivers license, etc.) as it may need to match official visitation information for security purposes. If any of your information is incorrect, please click “Back” and fix the information. Also, be sure that you remember your User ID and password, as this information is not included in any of your confirmation materials. Once you are certain that the information on the screen is correct and you have written down your username and password, click the “Submit” button to create your account. |
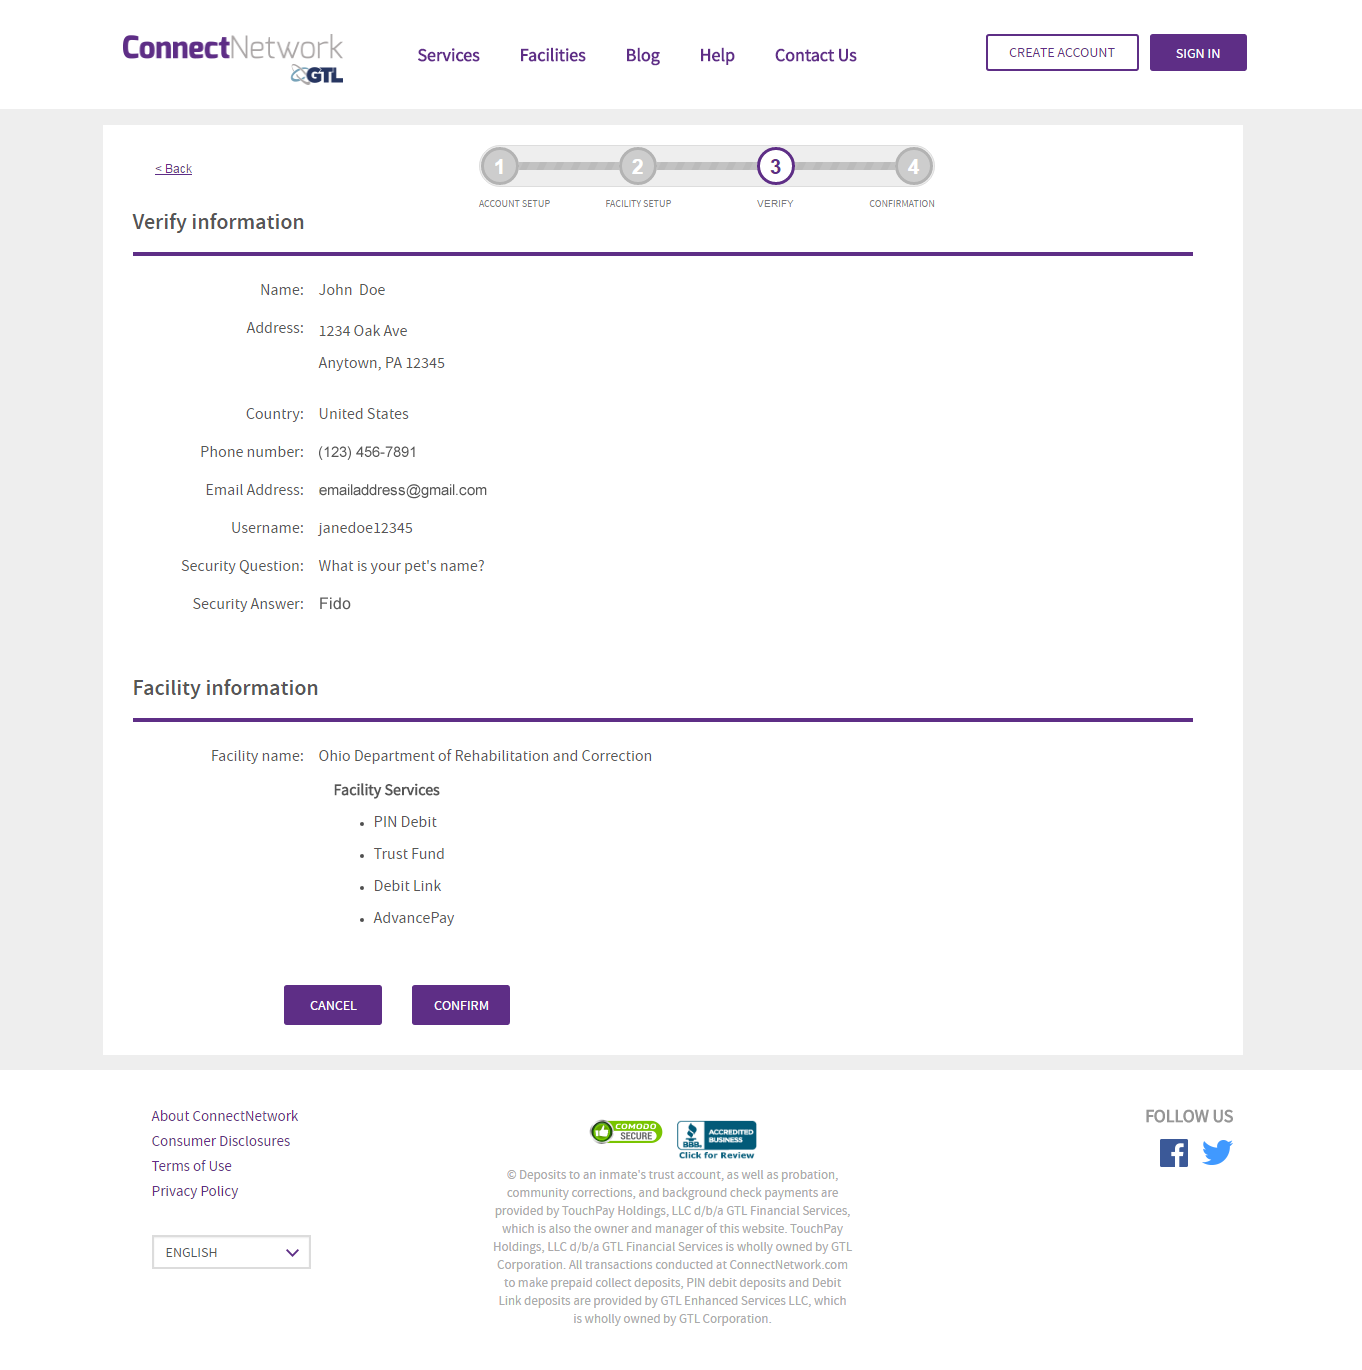 |
| 7. You will now be taken to the confirmation page. It provides directions on the next steps to take. You will need to activate your account from the email you provided in step 4, in order to use your account. | 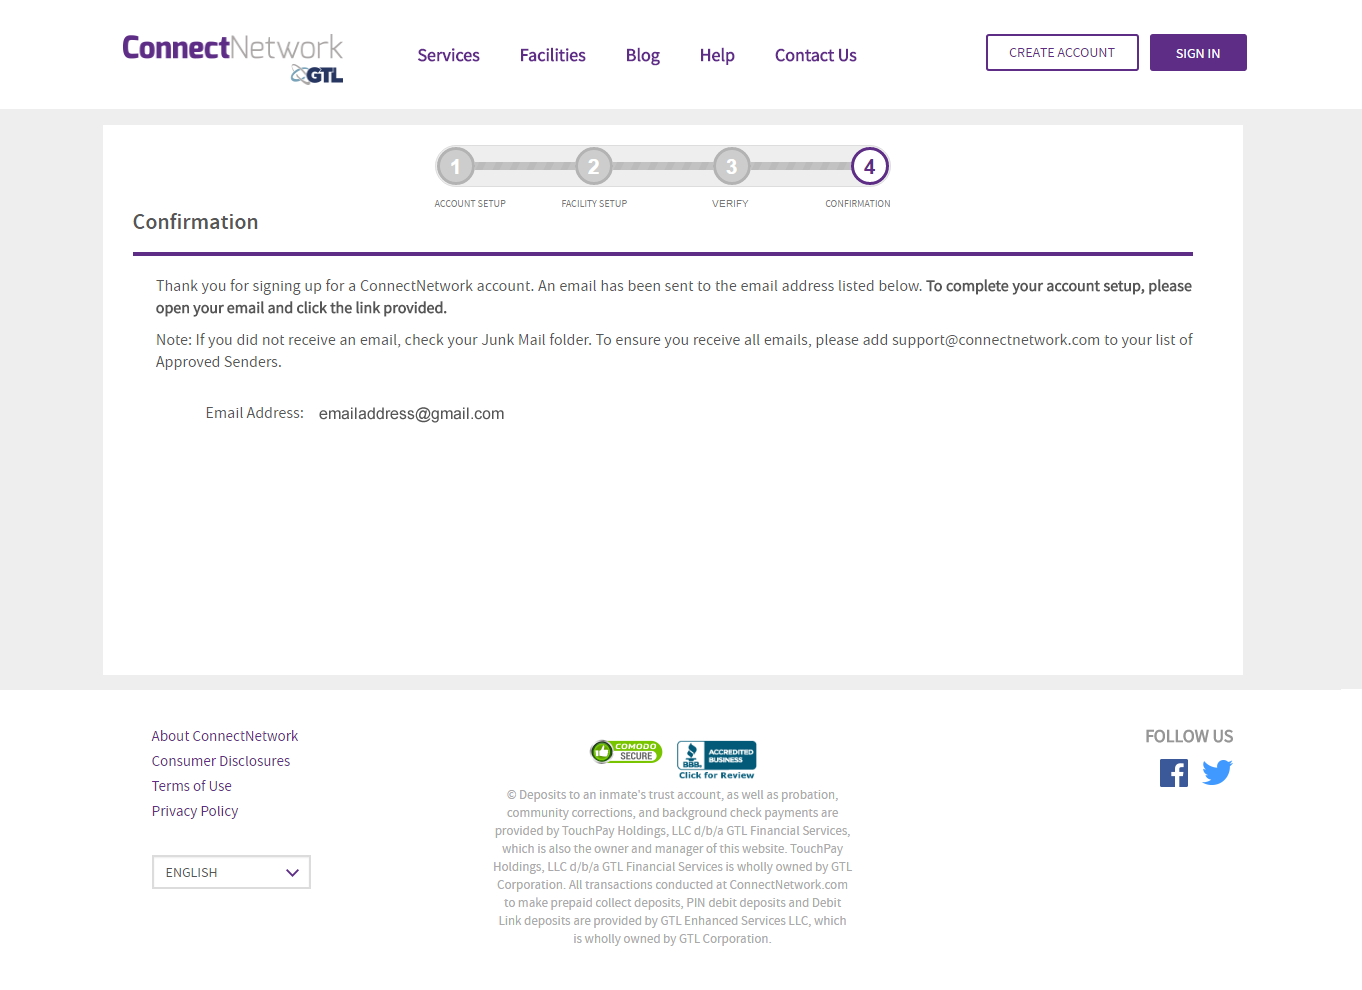 |
| 8. Find your confirmation email – it will likely be in either your inbox, or your spam/junk folder in your email. To find it, first go to your inbox to look for the email. If it is not there, go to your spam/junk folder and look for it there. The email subject line should be “ConnectNetwork Account Information”, and it should be addressed from [email protected] | 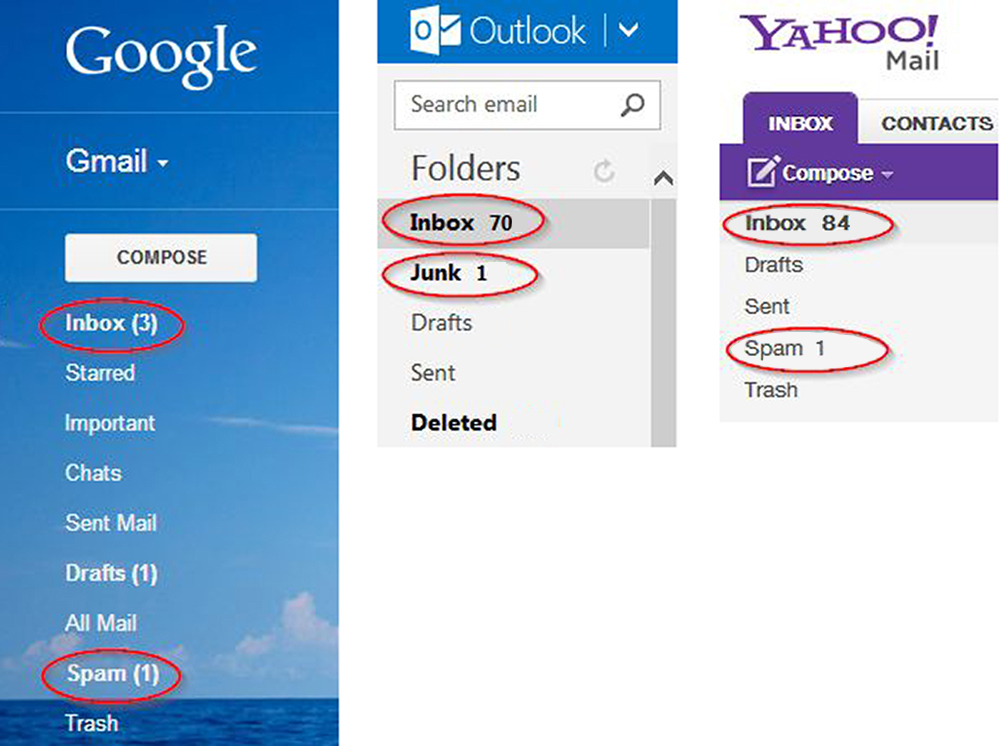 |
| 9. Inside the email, you will see a link to “Activate Account” if you click this you will be taken to ConnectNetwork. Once there, you can then log into the site using the User ID and password you created during the account setup process. If the link does not work for you, you can copy the full URL provided and paste it into the address bar of your browser and activate your account that way. Once your account is activated, you can simply visit www.connectnetwork.com thereafter and use your login information to access the site. |
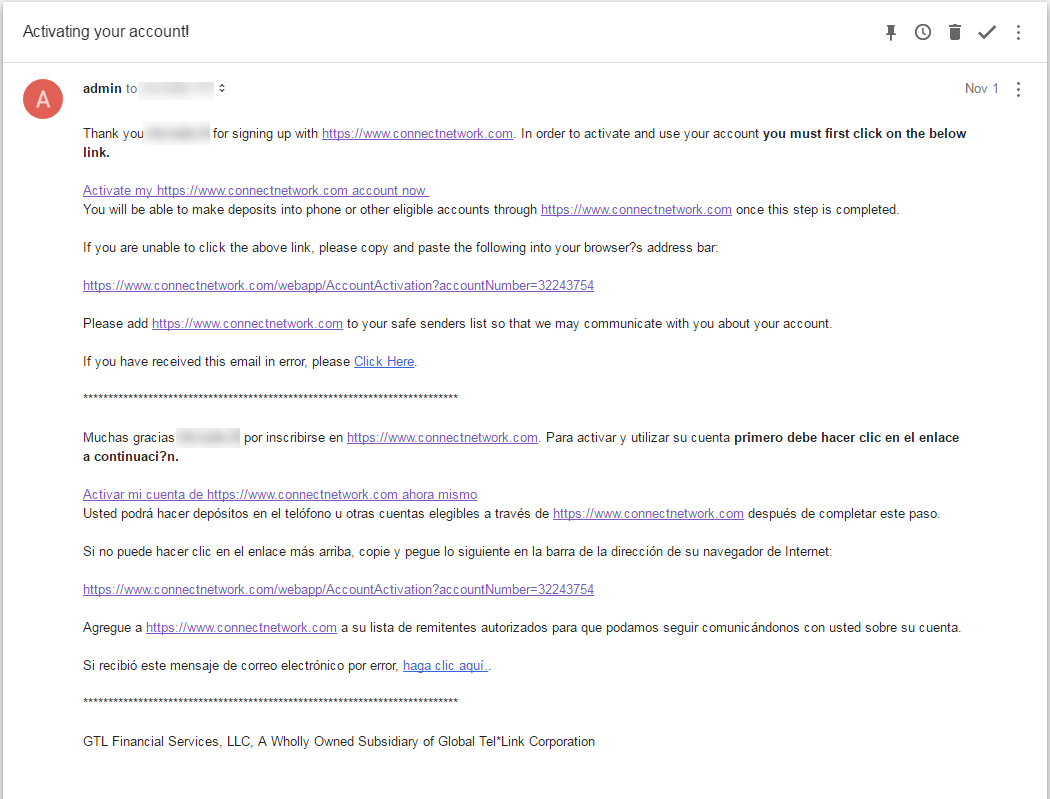 |
Adding an Inmate to Your Account
Registered users of ConnectNetwork.com, who have confirmed their account , will need to follow the instructions listed below to add an inmate to their account.
| Description | Click to Enlarge |
| 1. Prior to adding funds to an inmate’s account, you must first add your inmate(s) to your ConnectNetwork account. Starting on the main ‘Dashboard’ screen, you will need to select the Add Inmate button located at the top of the ‘My Inmates’ section. | 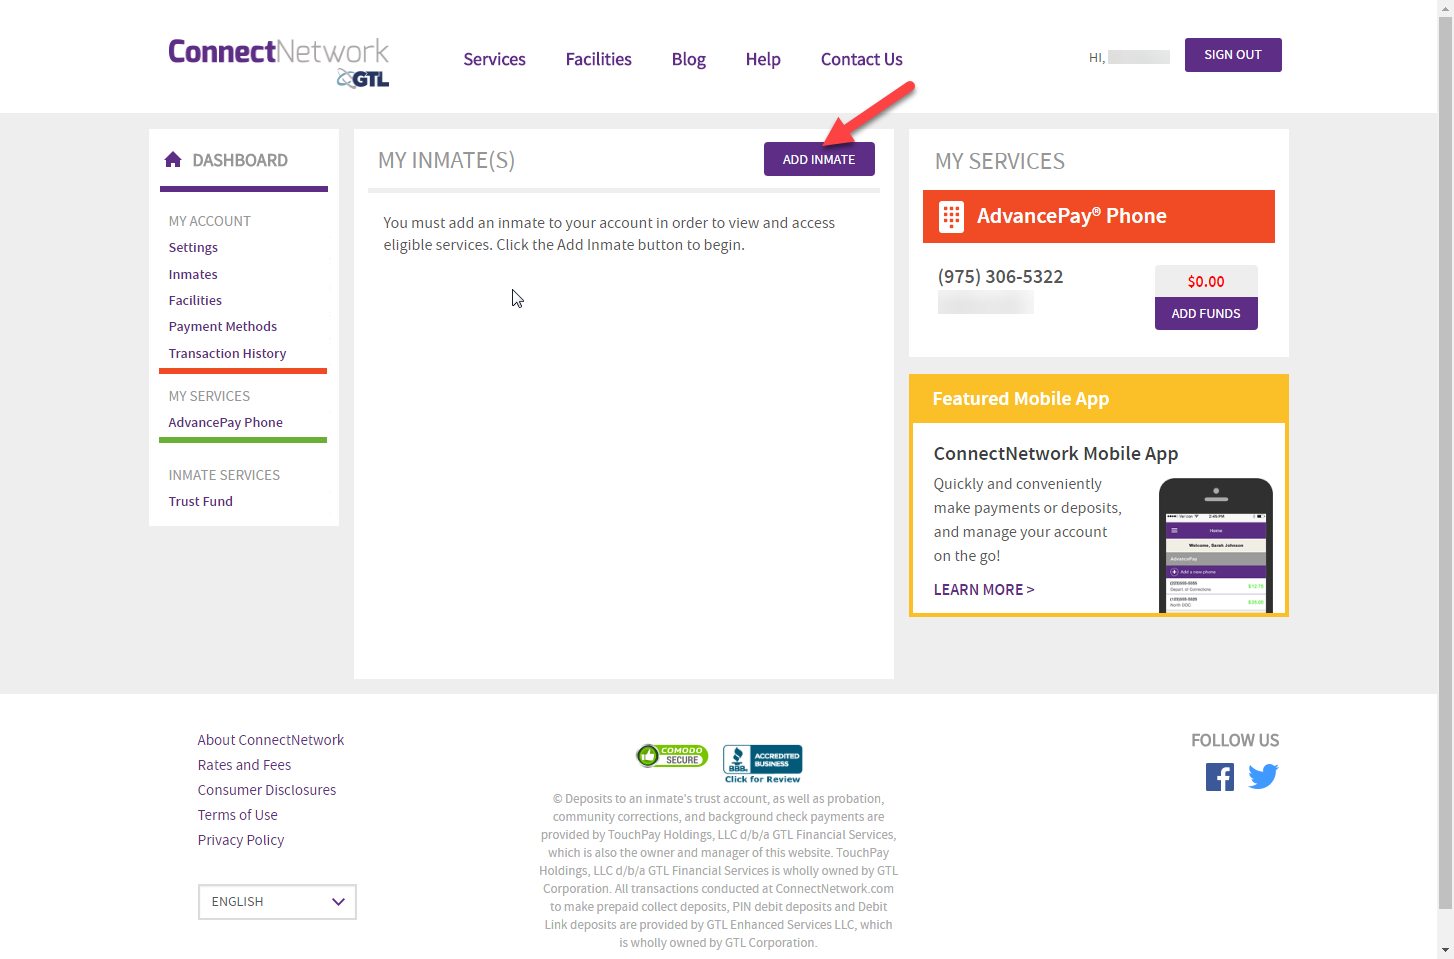 |
| 2. To continue with the process of adding an inmate(s) to your account, you will need to click the ‘Search For Inmate’ button. | |
| 3. Prior to searching for an inmate(s), you must select the facility in which the inmate(s) is(are) currently located. | |
| 4. Once you have selected the correct facility, you will be given three different search options to use to locate your inmate. You will only need one of these categories to find your inmate. The first option allows you to search for your inmate by typing in the correct First and Last name of the inmate. | |
| 5. The second inmate search option allows you to lookup the inmate using the Booking ID of the inmate (if known). | 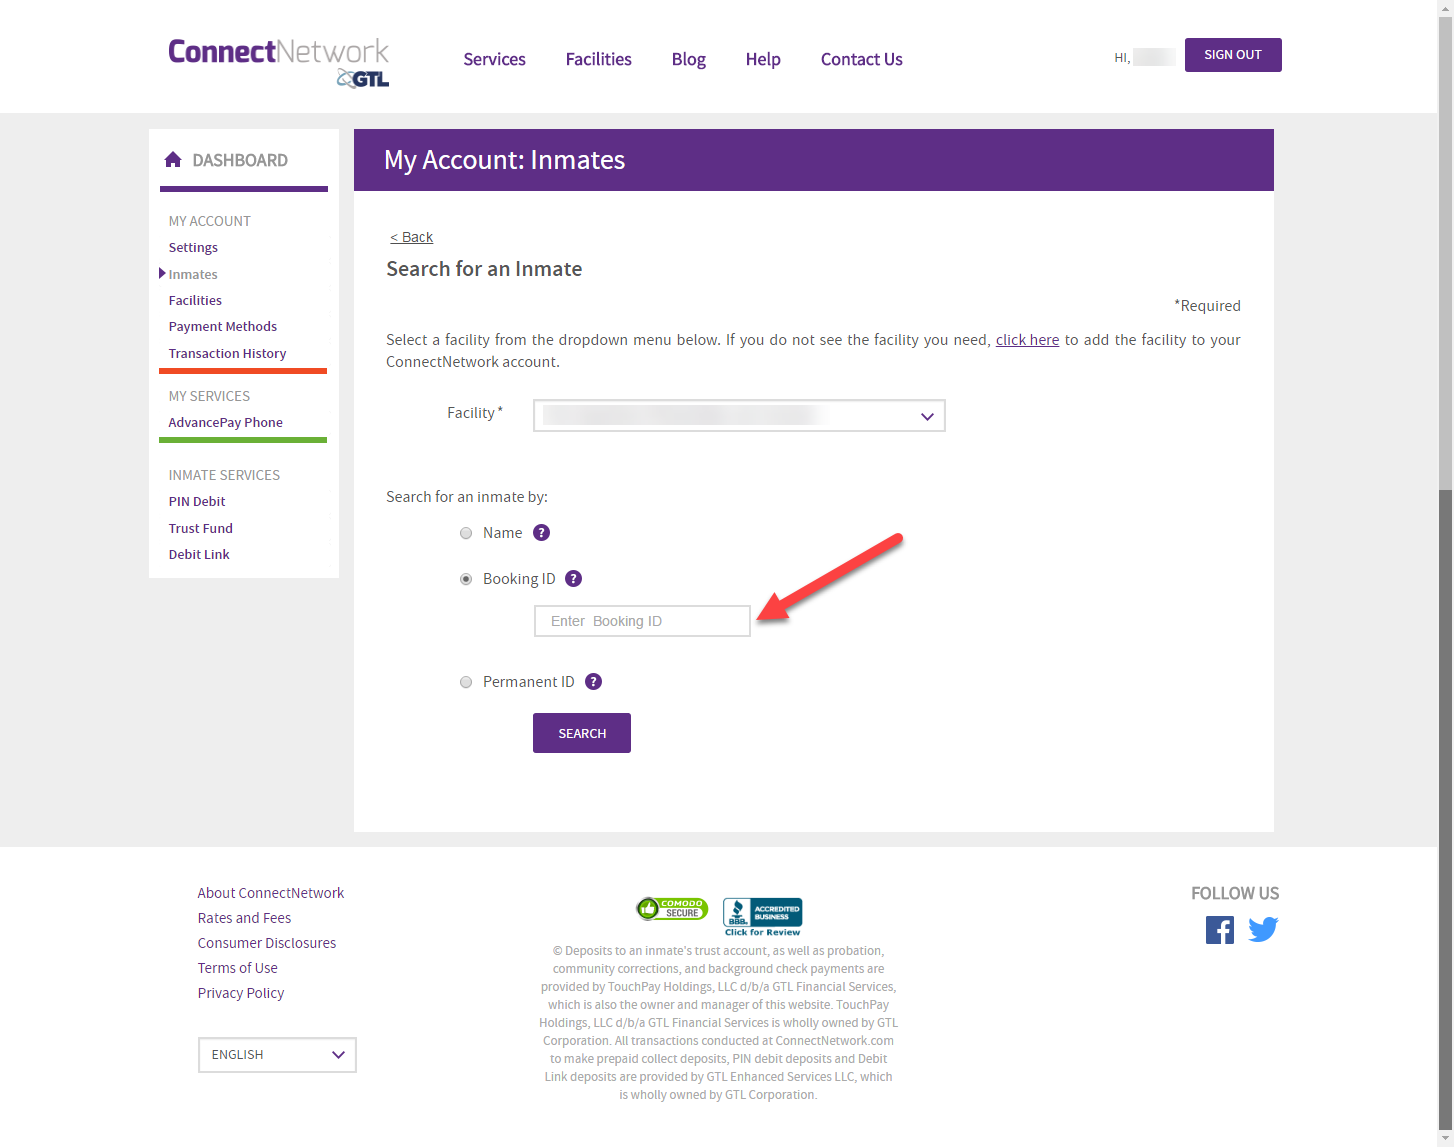 |
| 6. The third search option would be to locate the inmate by using the permanent ID of the inmate. | |
| 7. Once you have located your desired inmate, please be sure to select the ‘ADD’ button to the right of the name to ensure the inmate is added to your account. | 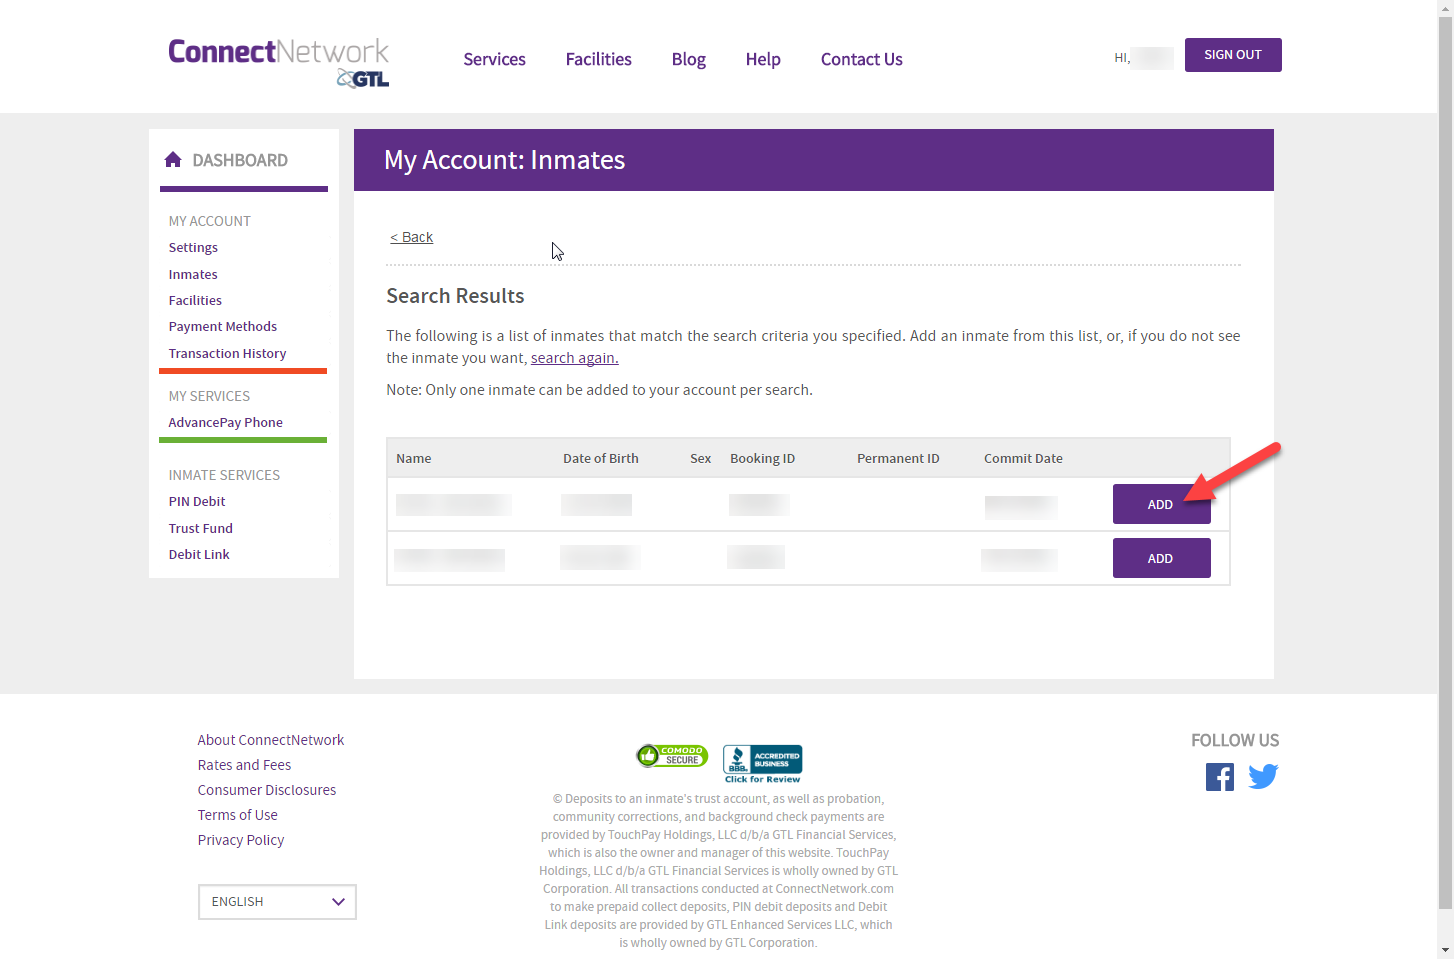 |
Depositing Funds to an Inmate’s Trust Account
Registered users of ConnectNetwork.com, who have confirmed their account, should use the following instructions to successfully complete a deposit to an inmates trust account.
| Description | Click to Enlarge |
| 1. Once you have successfully added your inmate(s) to your Connect Network account, you will be able to deposit funds to their trust account using your valid credit card. To being the process, you will need to select the ‘Make Deposit’ button. | 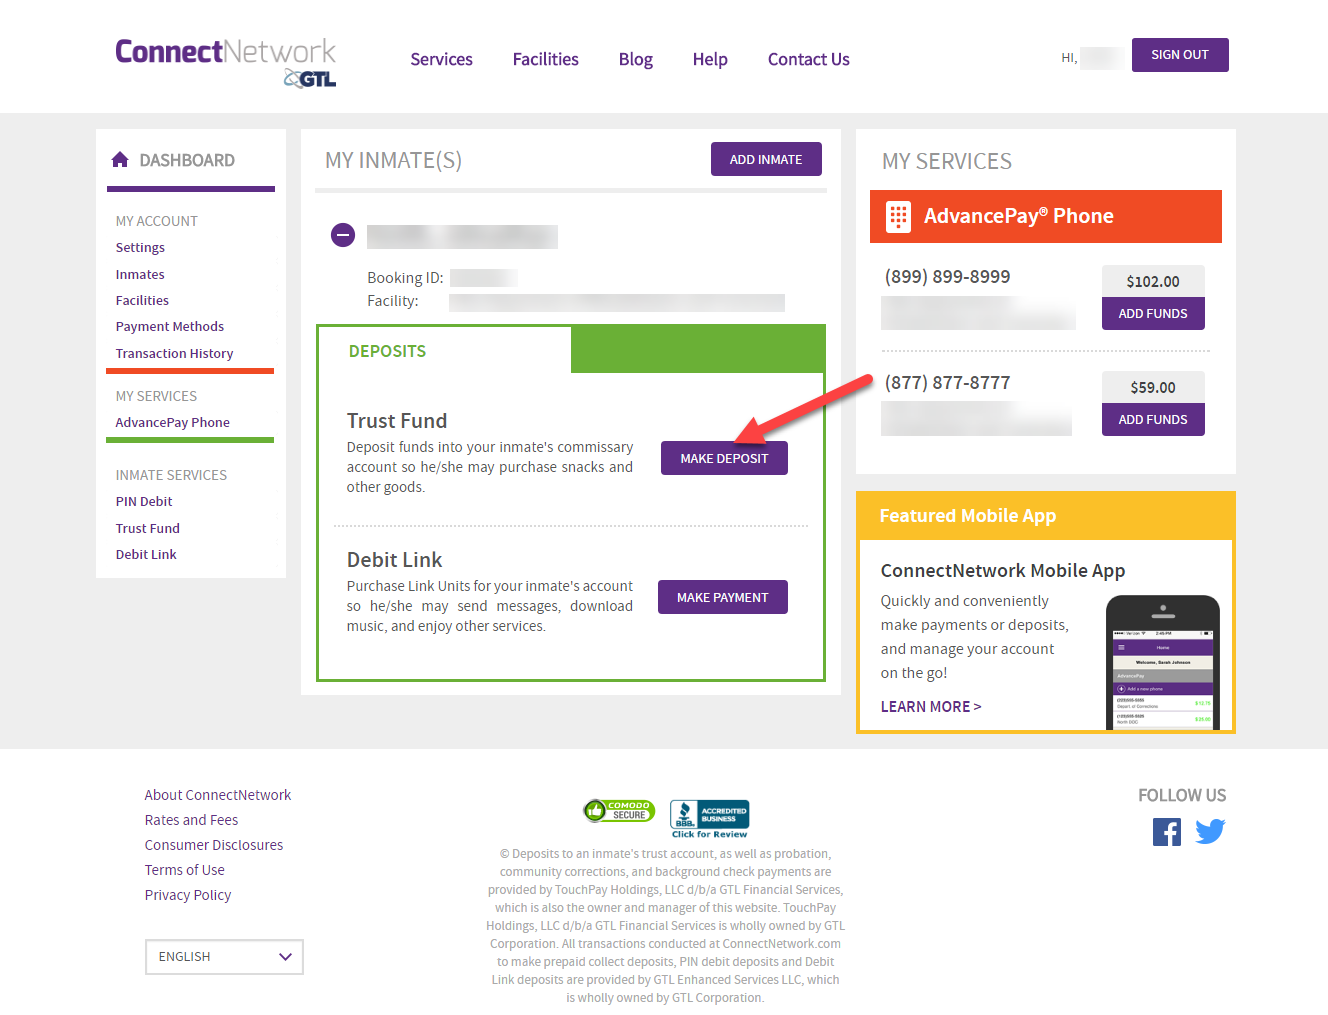 |
| 2. On this screen, you will be give the option to enter the amount you wish to deposit to your inmate. | |
| 3. This screen will show you the payment options that you have available to you to complete this transaction. If you have previously made a transaction with Connect Network, you may have a credit card stored on your account already. To proceed, please select your preferred payment method. | |
| 4. If you wish to use a card you may have saved from a prior purchase, you may do so by simply clicking the ‘Select’ button. | |
| 5. If you are using a previously saved card, you will need to enter the verification code (also known as the CVV number) which is located on the back of the card (these numbers are usually three or four digits). |  |
| 6. If this is your first time making a payment on ConnectNetwork, or the first time using a new credit/debit card, you will need to complete all of the necessary fields (marked with an *) in order to complete the transaction. | |
| 7. Once you have entered all of the necessary payment details and selected the ‘Continue’ button, you will be brought to a deposit review screen. This will allow you to verify all of your information prior to submitting the transaction. Once you have reviewed all of the details, you may proceed with the transaction by selecting the ‘Submit’ button. | |
| 8. After selecting the ‘Submit’ button, you will be shown a Confirmation screen, indicated your transaction was successfully submitted through our system. | |
| 9. In addition to the confirmation screen you were shown on the ConnectNetwork website, you will also receive a confirmation email to the address you used to create your ConnectNetwork account. |